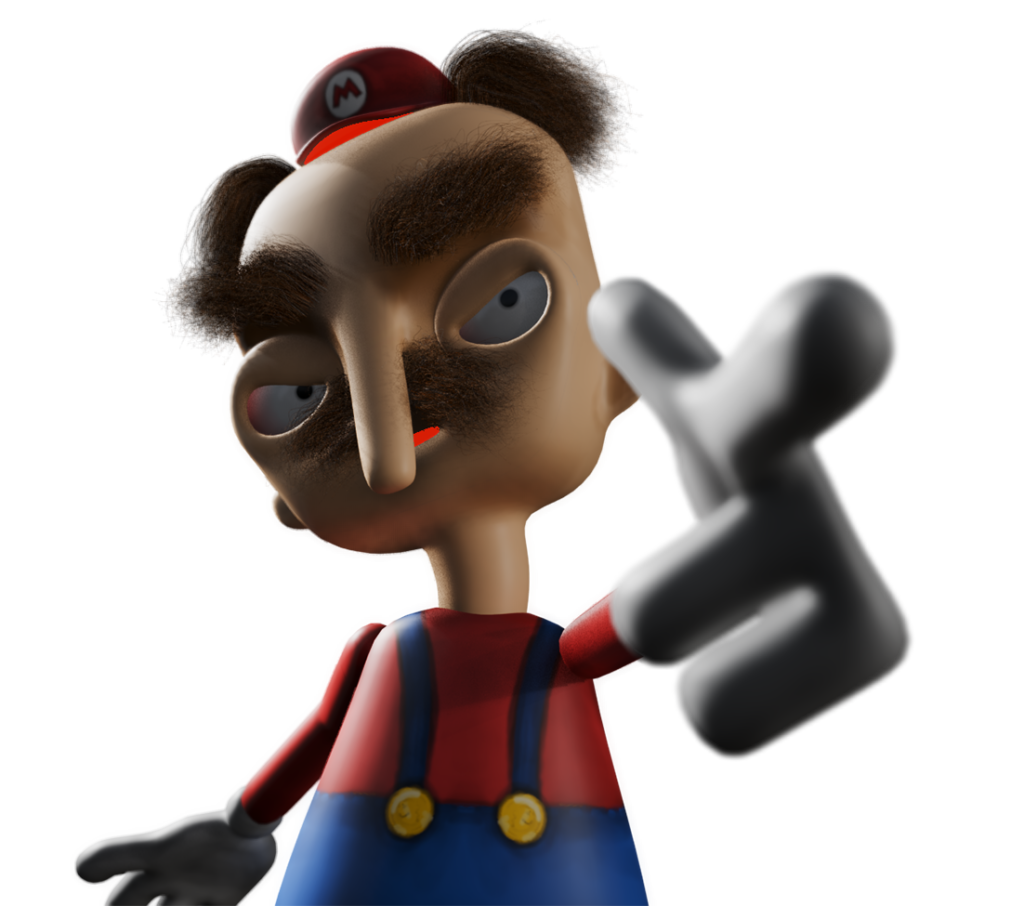
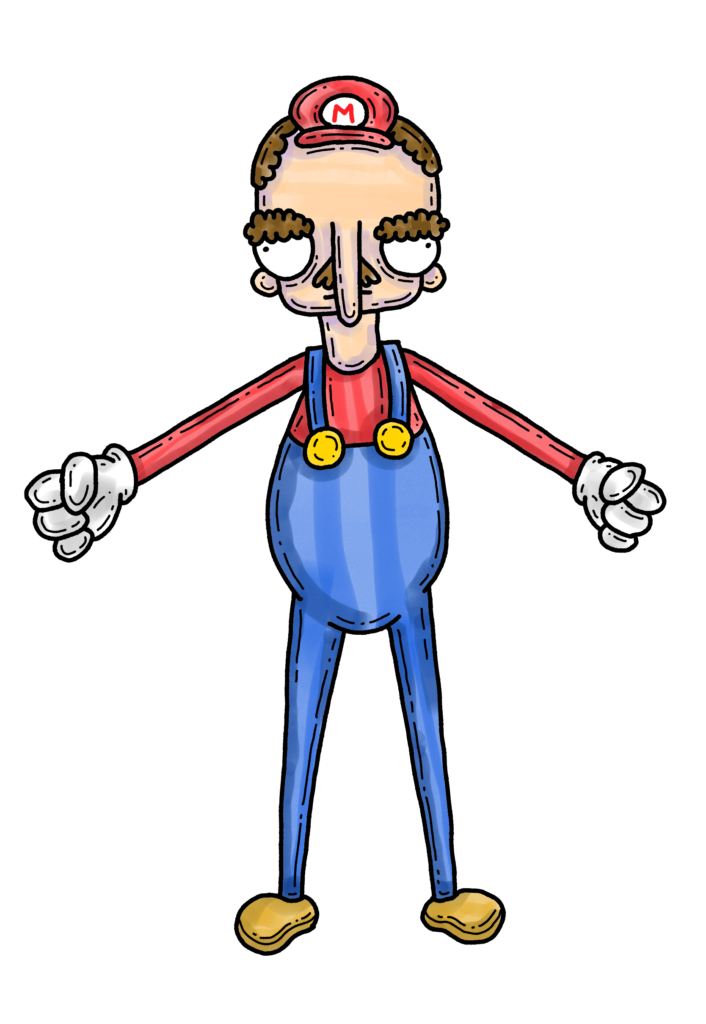
Sometimes, the perfect project is just waiting for you in your sketchbook! One drawing from my Inktober really caught my eye. So, I decided to turn Mario from Super Mario Bros. into a 3D model. Let’s have a look at the process of Mario’s Pipe Line.
3d Modelling Super Mario
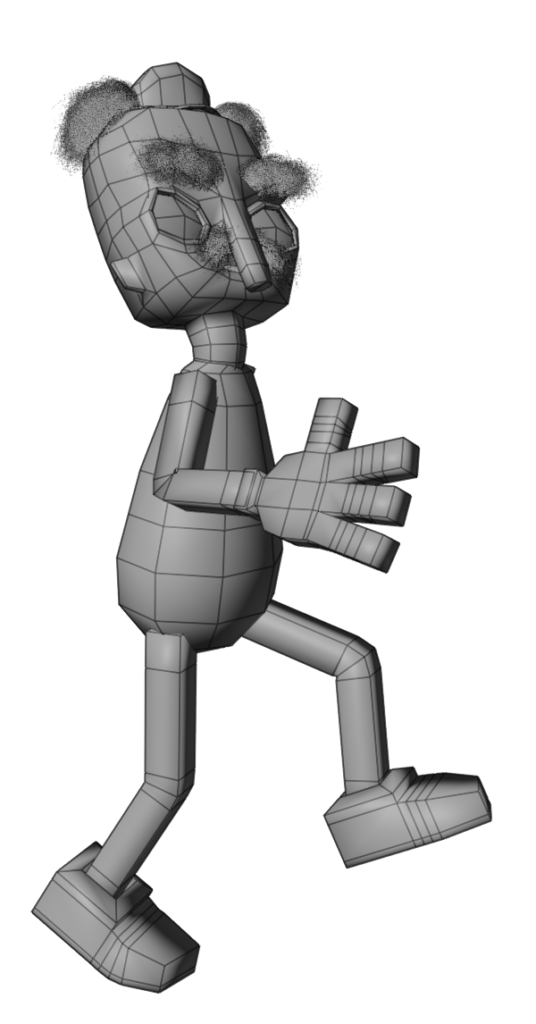
A simple mesh is a great starting point for a rigged 3D character. So, I apply basic shapes to keep Mario’s form as low poly as possible. The good news is that this means less retopology of the 3D model before rigging. I use a mix of 3D sculpting techniques, including box modelling, subdivision and digital sculpting, to create my Mario model.
Texture Painting in 3d
In blender I paint with a texture painting add-on Ucupaint. It is layer based therefore it seems very familiar coming from 2d applications like Procreate. It makes use of blender’s texture paint brushes but you are able to import your own. Plus, blender on an iPad makes it easy to achieve a handmade look.
Customized 3d Character Rig
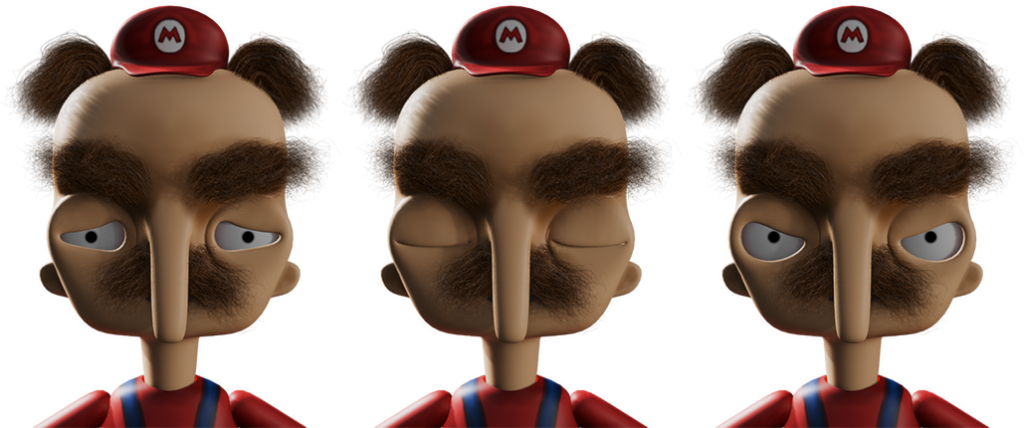
I start with a simple rig and only a few bones to get an interesting pose. But after seeing the pose, I knew this character had too much attitude and needed a complete rig. Luckily, since my model is fairly low poly, I just make a few loop cuts at the bending points and weight painted accordingly. Blender is great at distributing weight paint when the subdivisions are turned up, so I saved a lot of time weighting the rig. The eye’s are UV textures and controlled using drivers.
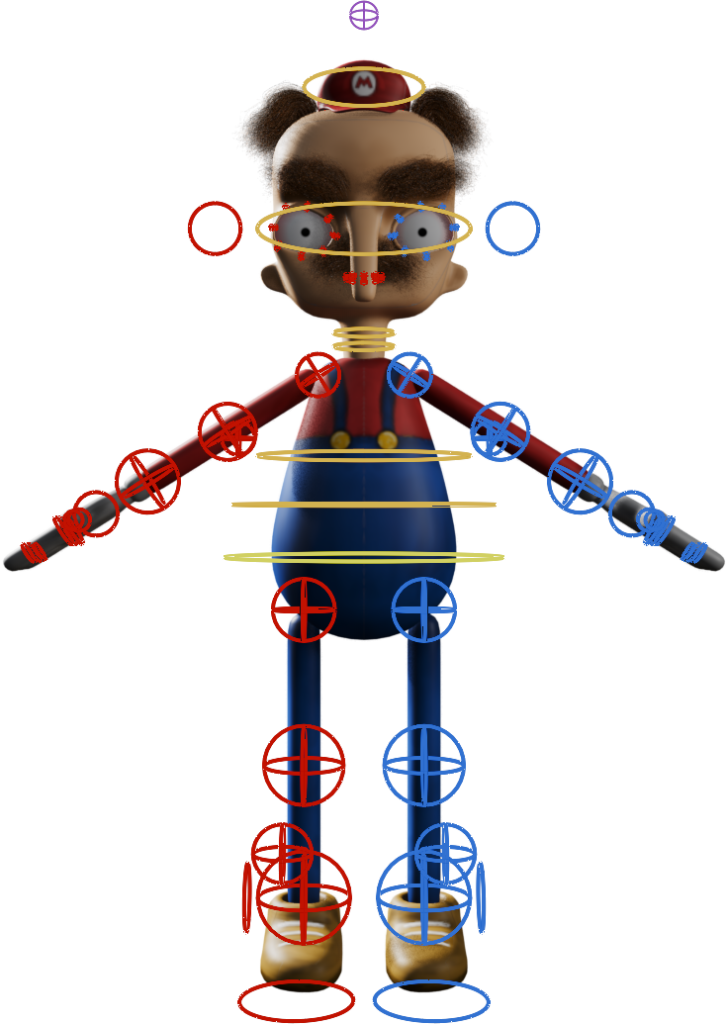
Mario’s Ready to Animate
This 3D modelled character rig looks pretty good so far! It’s also easy to add parts if I need to, without messing up what I’ve already done during Mario’s pipe line. So, after a bit of work, I have a 2d Sketch to fully Rigged 3d Model that I can animate however I choose.